How to Print and Bind Your Printable Quick-Fill Journal for $10 or Less
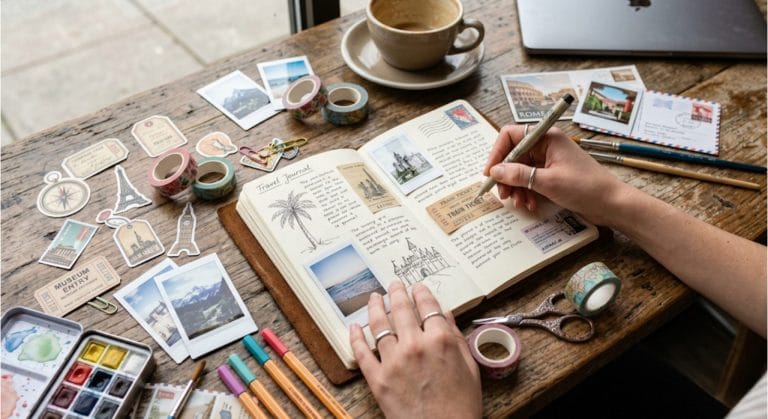
You love the customizability and clean look of a physical journal, but you hate paying for a mass-produced book. The solution? Printable Travel Journal Pages!
Printables (like our Quick-Fill General Travel Journal) give you the freedom to choose exactly which pages you need and offer a massive cost advantage. The only hurdle is turning the digital file into a usable, durable journal without spending a fortune on professional printing and binding.
Of course, budget travelers are searching for DIY journal binding hacks, cheap travel journal ideas, and how to print travel templates affordably. Here is your ultimate guide to creating a high-quality, customized journal for $10 or less.
Check out our range of Safari Quick-Fill Journals for All Ages with Animal Spotting Logs and other Safari features.

1. 🖨️ The Printing Strategy: Maximizing Your Ink
Ink and paper are the biggest costs. By printing smart, you can drastically reduce your spending.
A. Go Gray (Black Ink Only)
- The Hack: If your printable templates are designed with color accents, choose to print them in grayscale or black-and-white. Color ink cartridges are expensive and drain quickly, especially for large documents.
- Why it Works: Your Quick-Fill Daily Pages look just as clean and organized in black and white. You can always add color later with low-cost markers or pens.
B. Print Double-Sided (Duplex)
- The Hack: Ensure your printer settings are set to double-sided printing (duplex). Print the daily logs and generic list pages (like the New Foods I’ve Tried Log) on both the front and back of the paper.
- Why it Works: Cuts your paper consumption in half and, crucially, halves the weight and bulk of the journal—a win for both your wallet and your backpack!
C. Only Print Essentials
- The Hack: Review your itinerary and only print the pages you absolutely need. For a 10-day trip, print 12 daily log pages (allowing for two spare) and one copy of the End-of-Trip Reflections.
- Why it Works: Eliminates waste and keeps your total paper count low.
Check out our Quick-Fill Travel Journals on Etsy:


Quick-FIll Travel Journal for ANY Destination
The travel journal for explorers who want to remember everything, but would rather be living the adventure than staring at a blank page.

2. 📎 The DIY Binding Hacks (The Under-$5 Challenge)
Professional spiral binding can cost $4–$8 alone. Here are the best ways to create a functional, durable journal for pennies.
A. The Three-Hole Punch & Binder Ring
- Cost: Less than $1 per ring.
- How-To: Punch three holes down the spine of your stacked pages. Use one or two 1-inch binder rings (found at any office supply store) to thread through the holes and secure the pages.
- The Benefit: Pages lie flat and can be easily removed, added, or reordered. It’s the ultimate flexible traveler’s notebook.
B. The Simple Staple & Tape
- Cost: Almost free.
- How-To: For a smaller journal (under 50 pages), staple the stack tightly along the spine edge. Cover the staples with a piece of durable Washi tape or packaging tape to create a neat, reinforced spine.
- The Benefit: Extremely lightweight and takes up virtually no space in your bag.
C. The Clipboard/Folder Cover
- Cost: $1–$3 for a plastic folder or clipboard.
- How-To: Use a simple, plastic report cover or a sturdy, low-profile clipboard to hold your stacked pages. The clipboard provides an instant, hard writing surface.
- The Benefit: Provides the crucial hard backing needed for writing on a train, plane, or while standing, without paying for a traditional hardcover.


3. 🛡️ The Cover Upgrade: Protecting Your Investment
Your cover needs to be durable to survive being tossed in your bag alongside water bottles and chargers.
- Use Cardstock: Print your End-of-Trip Reflections page (or a dedicated cover page) on a single sheet of heavy cardstock (around 110lb). This makes the front and back of your stack much tougher.
- The Laminate Hack: If you have access to a laminator (libraries often offer cheap lamination), laminate your front and back cover pages. This creates a water-resistant, wipeable cover that is almost indestructible.
- The Rubber Band Secure: Once bound, wrap a wide, thick rubber band or a piece of heavy string around the middle of your DIY journal. This mimics the elastic closure of a store-bought journal, keeping all the pages and any loose tickets tucked securely inside.
By choosing our printable Quick-Fill pages and implementing these three cost-saving strategies, you can enjoy a fully customized, professional-looking travel journal for a fraction of the cost, leaving more money in your budget for the actual adventure!